Status Views
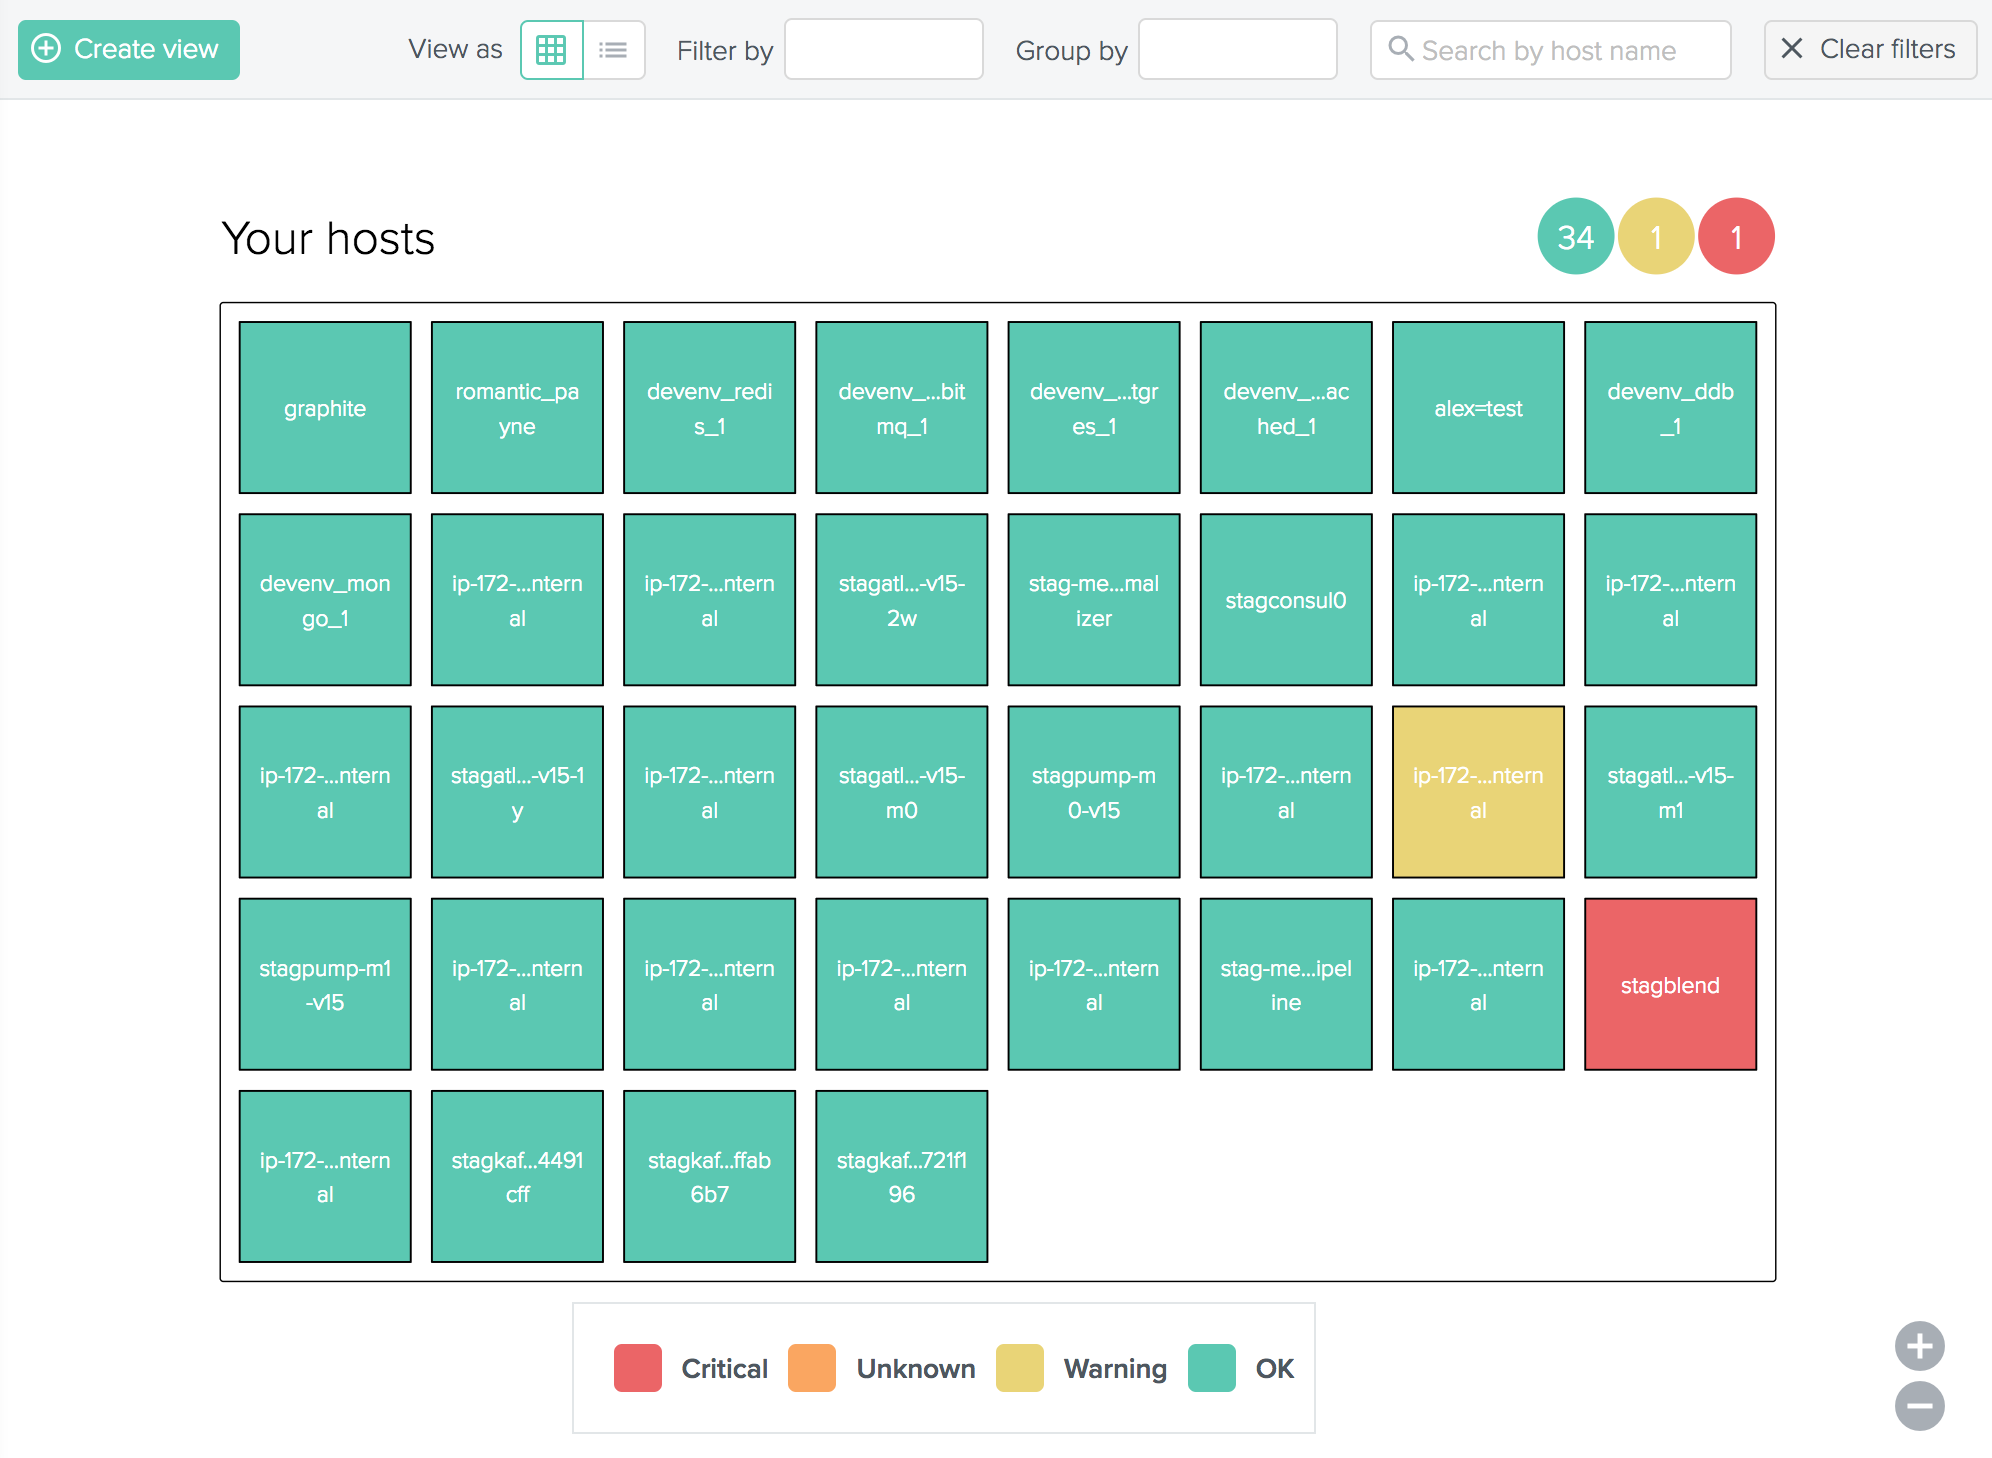
Outlyer status views provide full-visibility on all of your hosts and containers on a single screen:
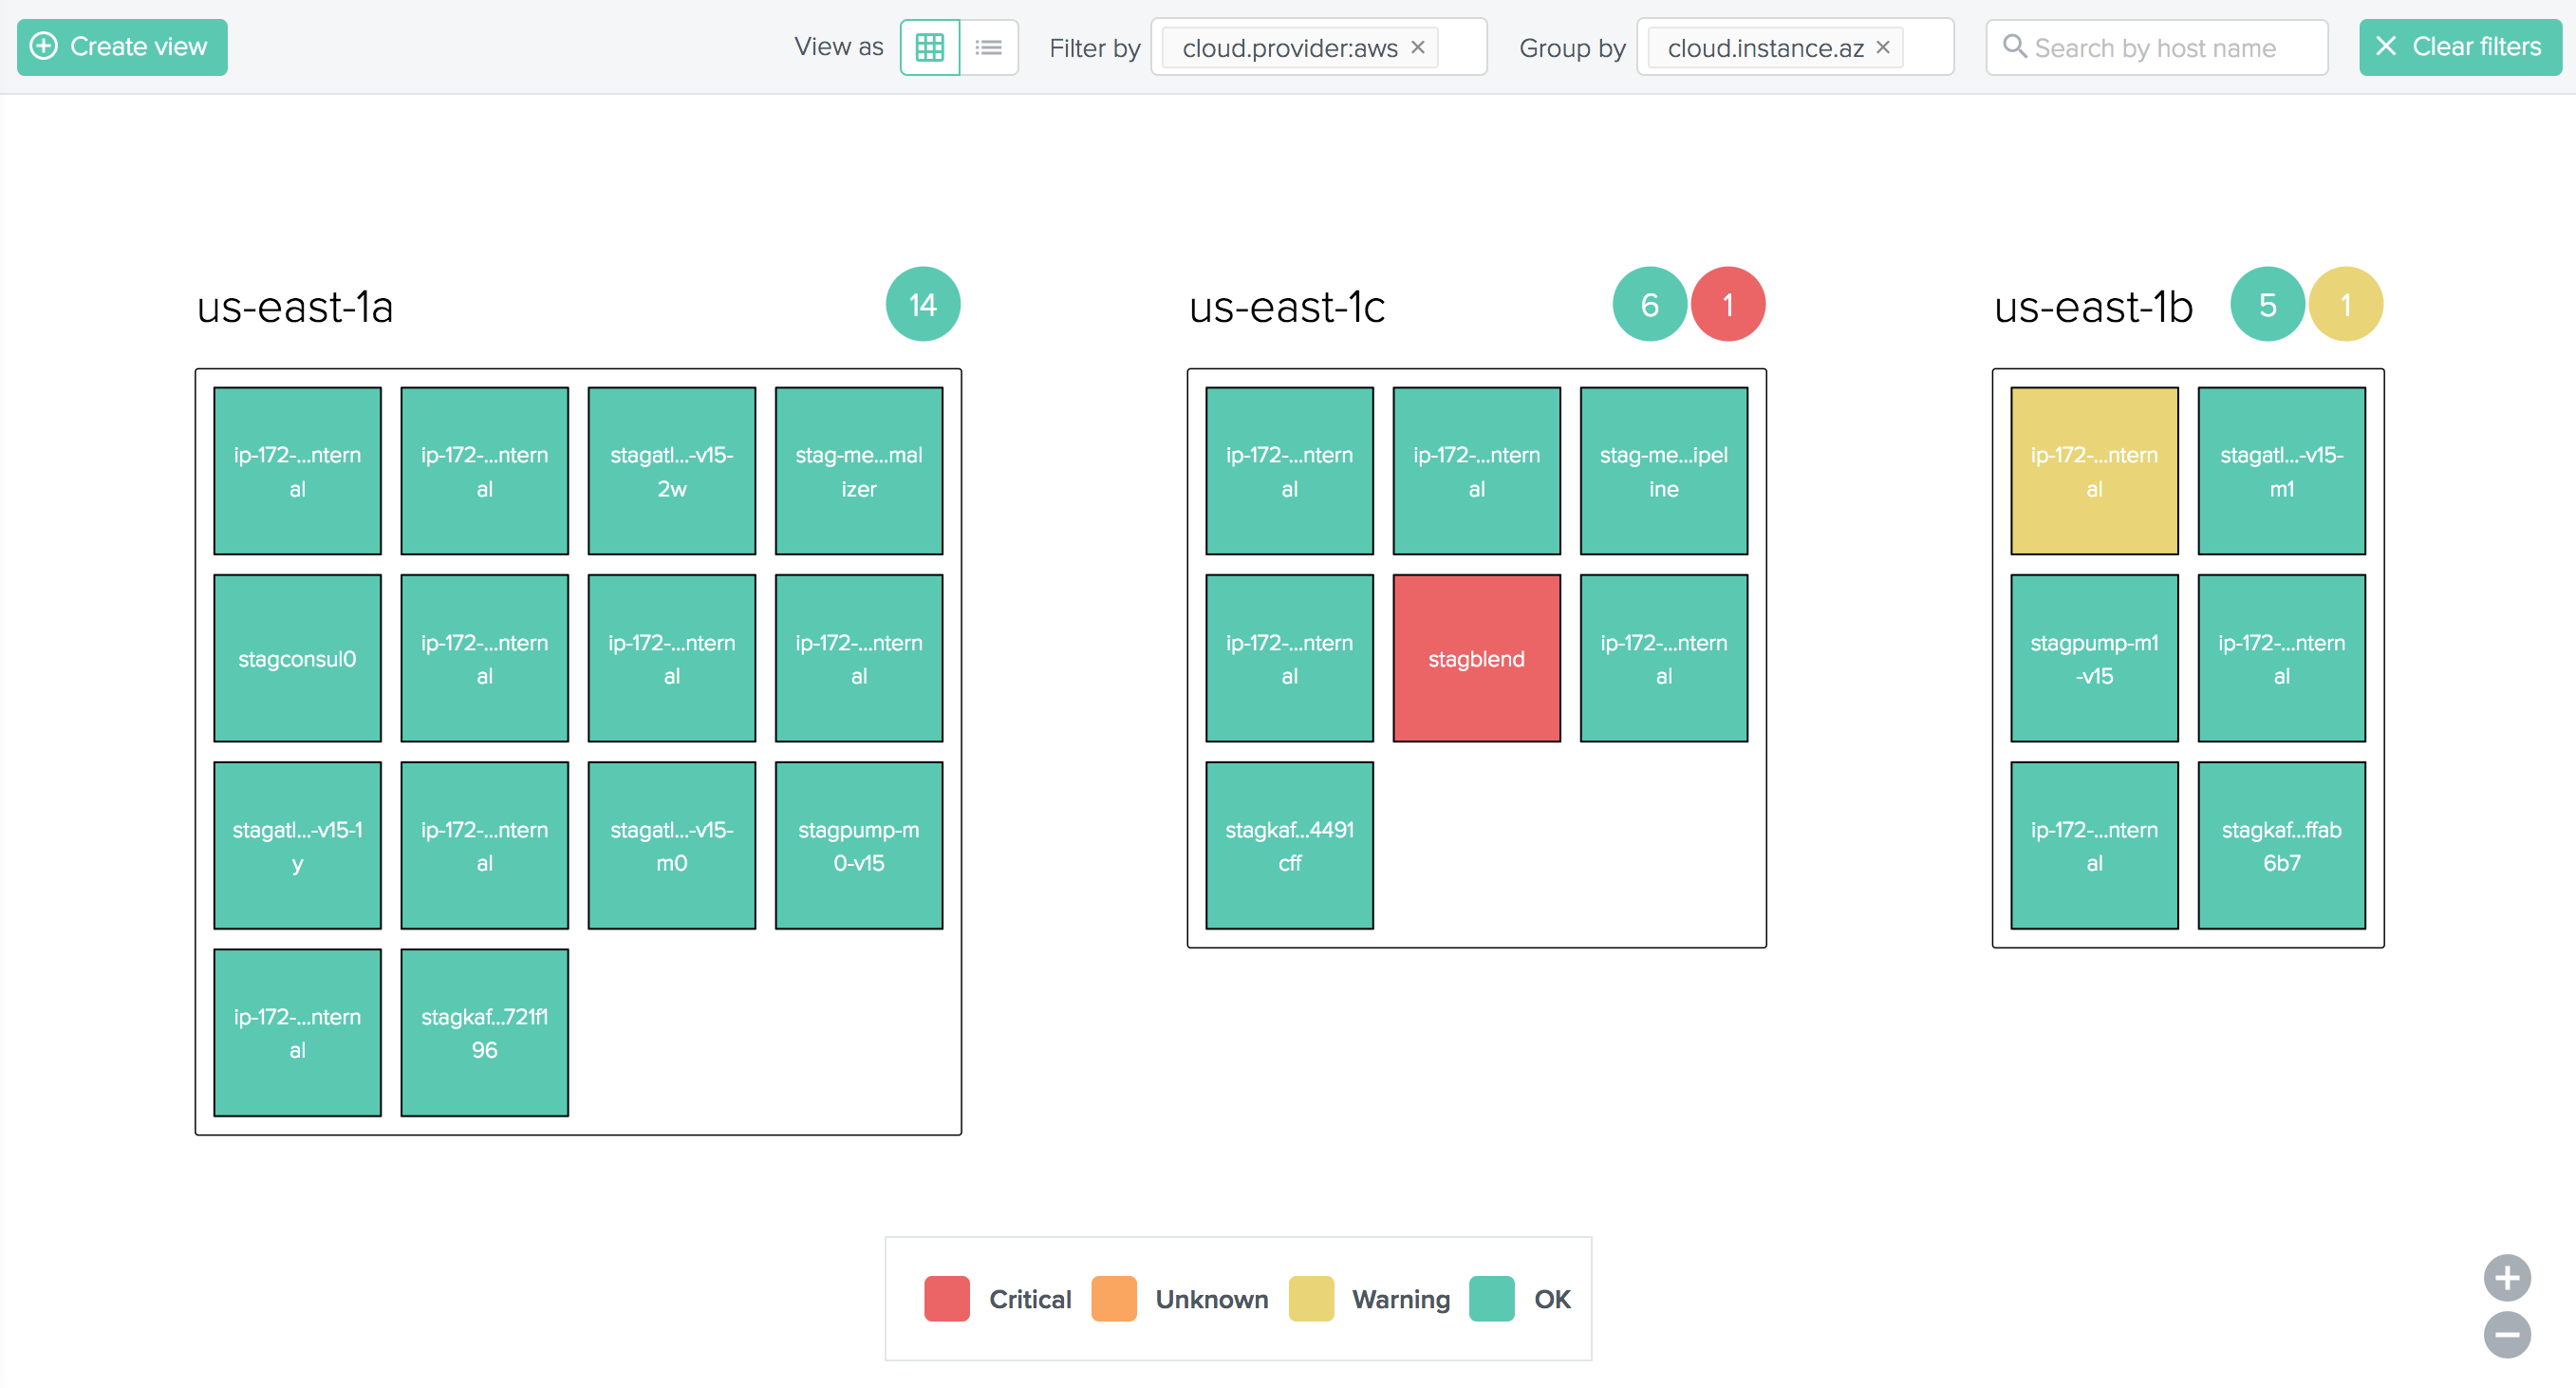
By filtering and grouping your hosts and containers, you can create, save, and export highly customizable views, such as all of your AWS instances grouped by availability zone:
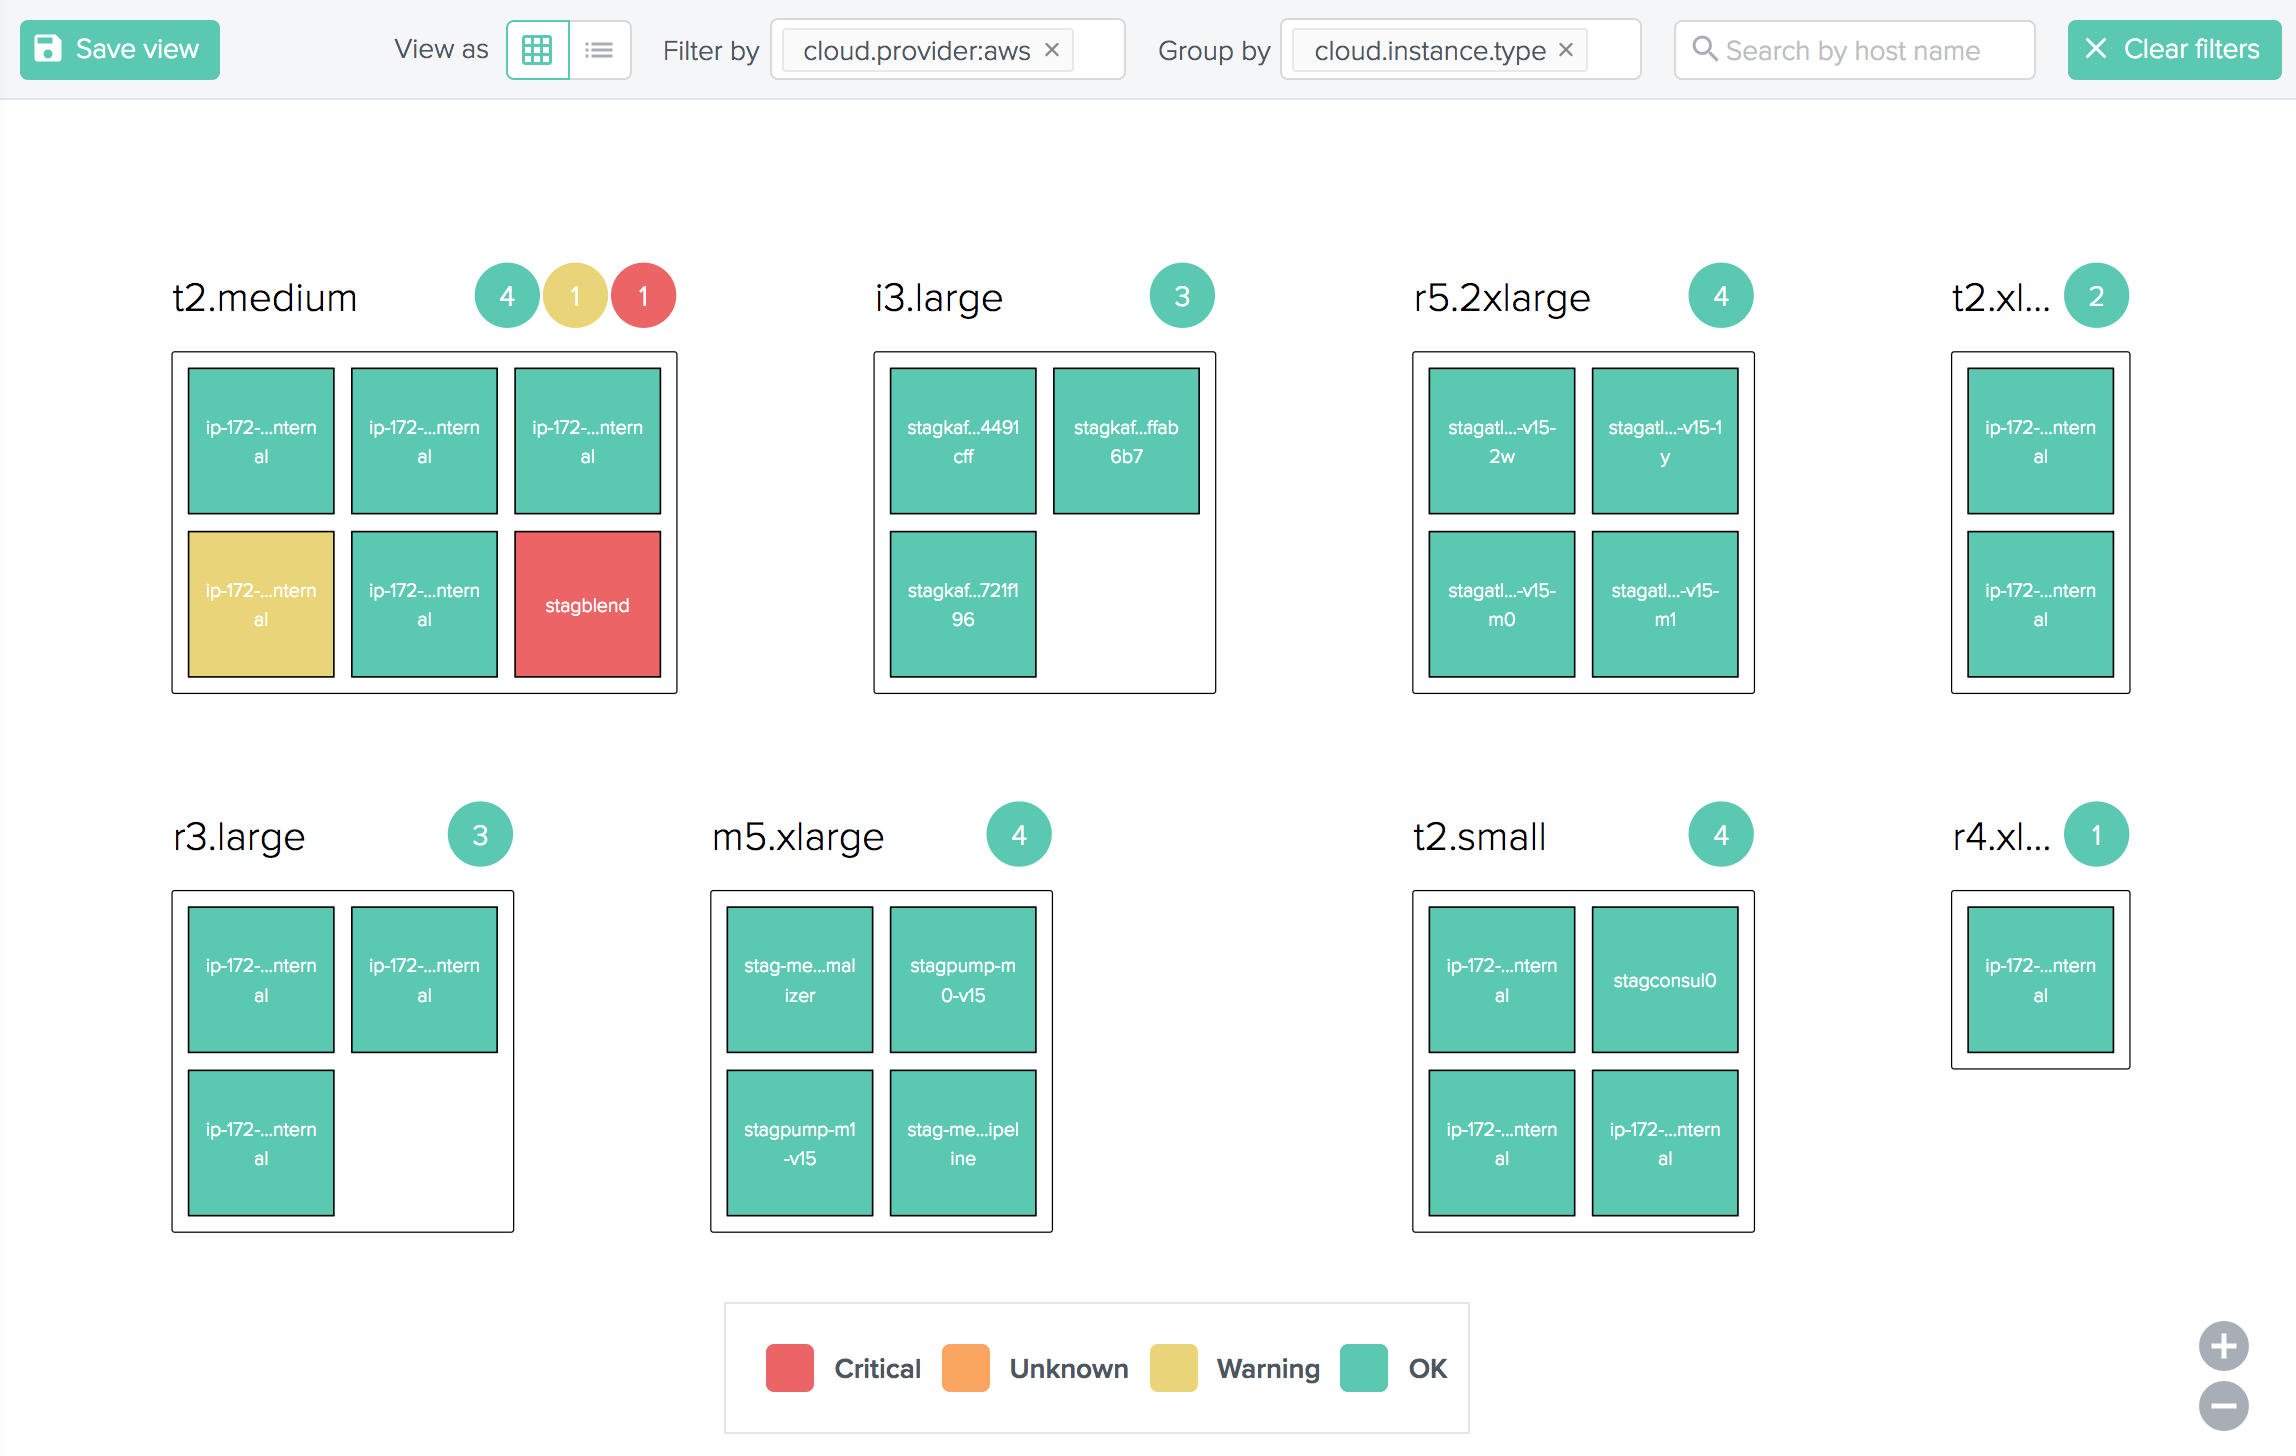
Or even all of your AWS instances by type:
Clicking on a host gives all its details categorized by host metrics (CPU, memory, etc), checks, labels, metric labels, processes, and network interfaces:
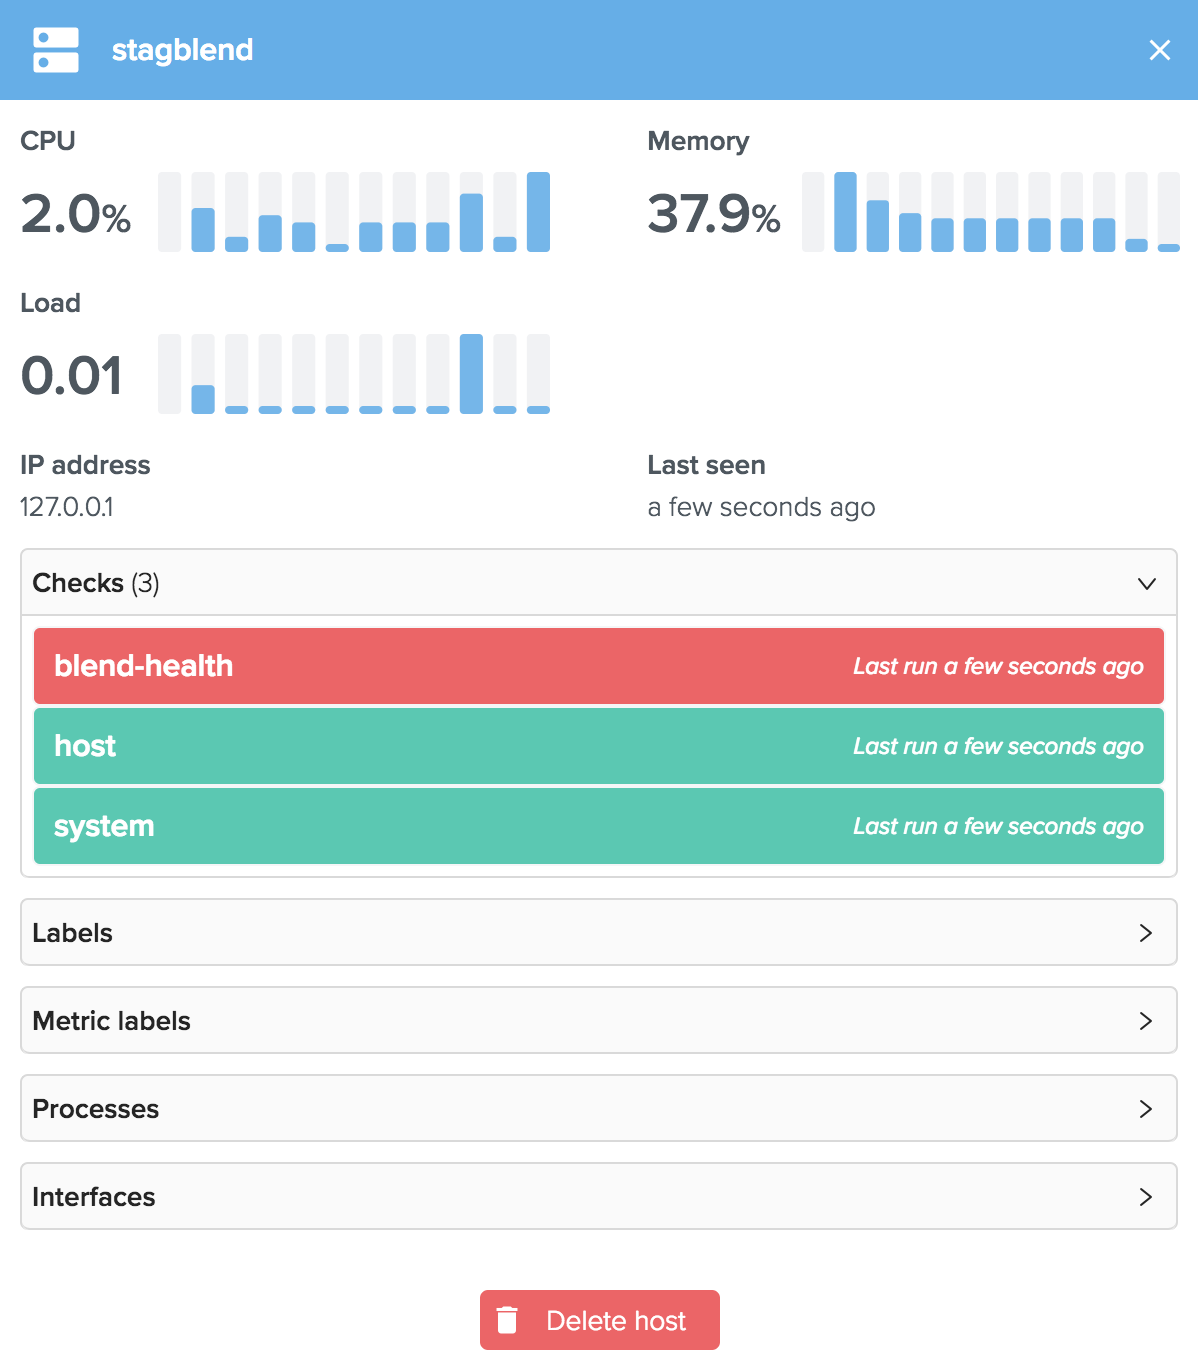
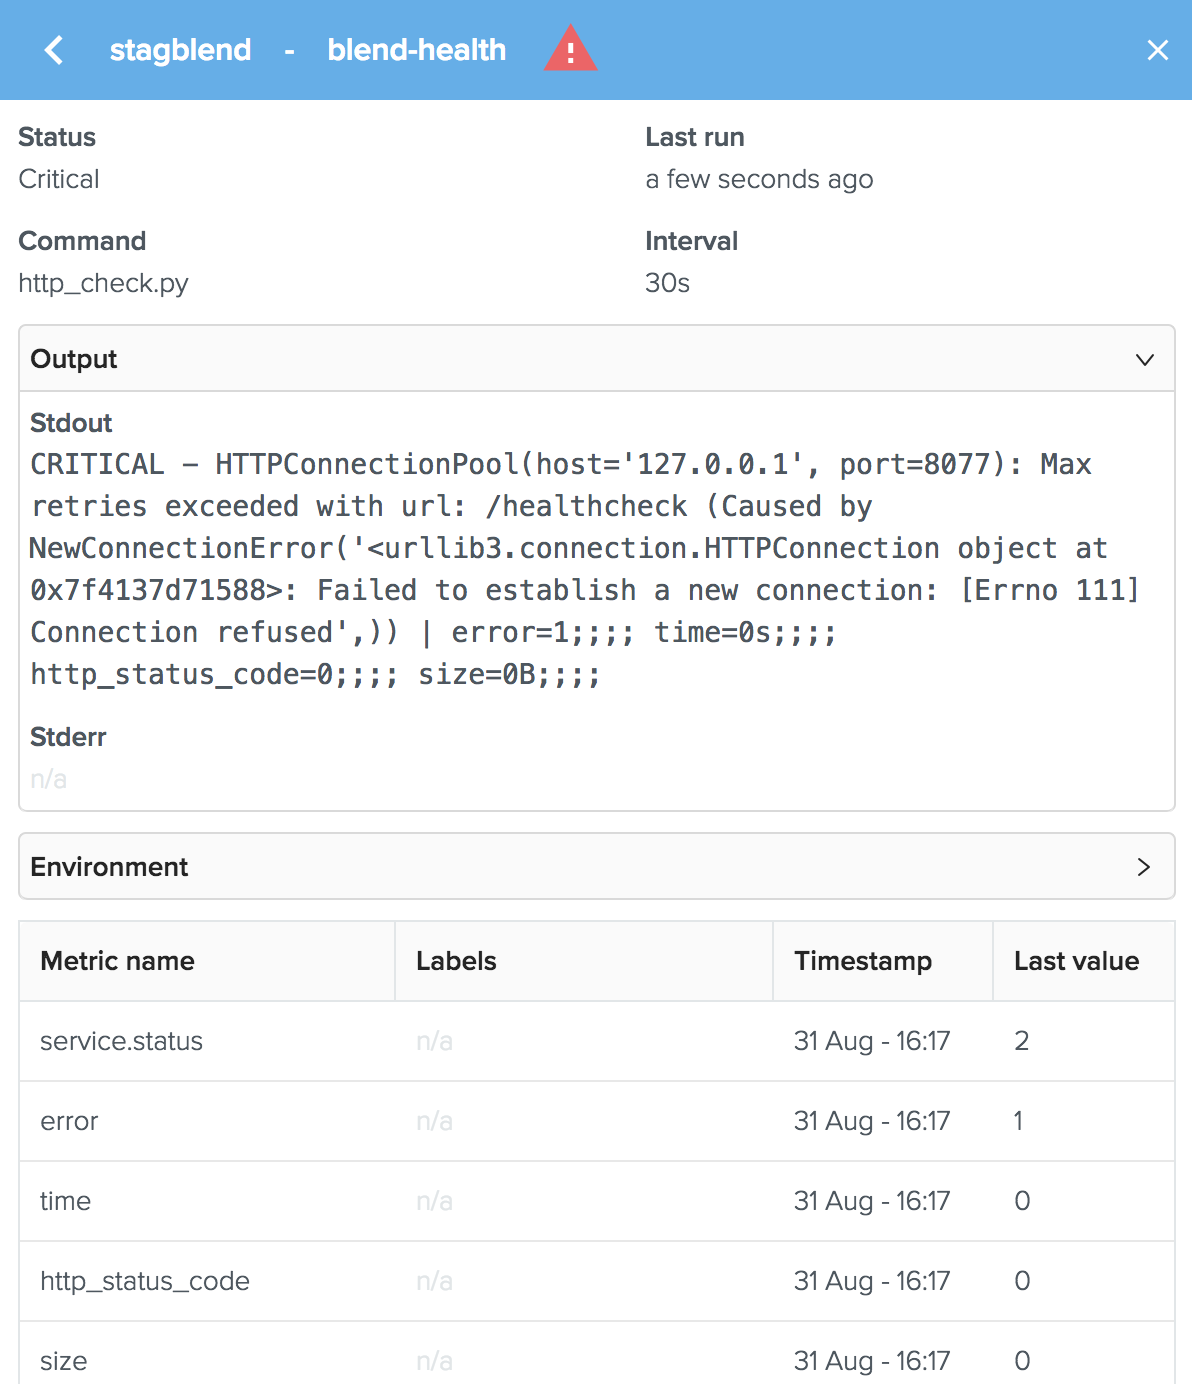
This allows to quickly identify failed checks and why they are failing in a single click:
Importing
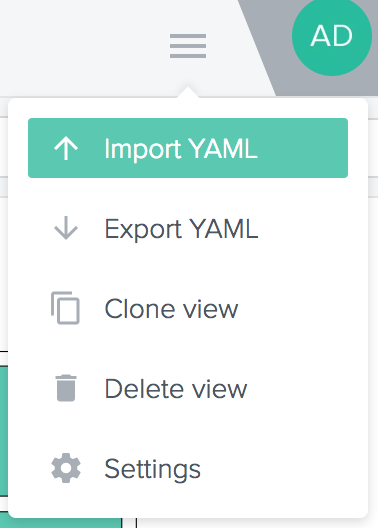
Importing a status view allows to quickly load previously created visualizations that really matters for your team. After creating an empty status view, click on Import YAML on the top menu (you can also import a status view at creation time):
Select or drag the status view YAML file and click on Import:
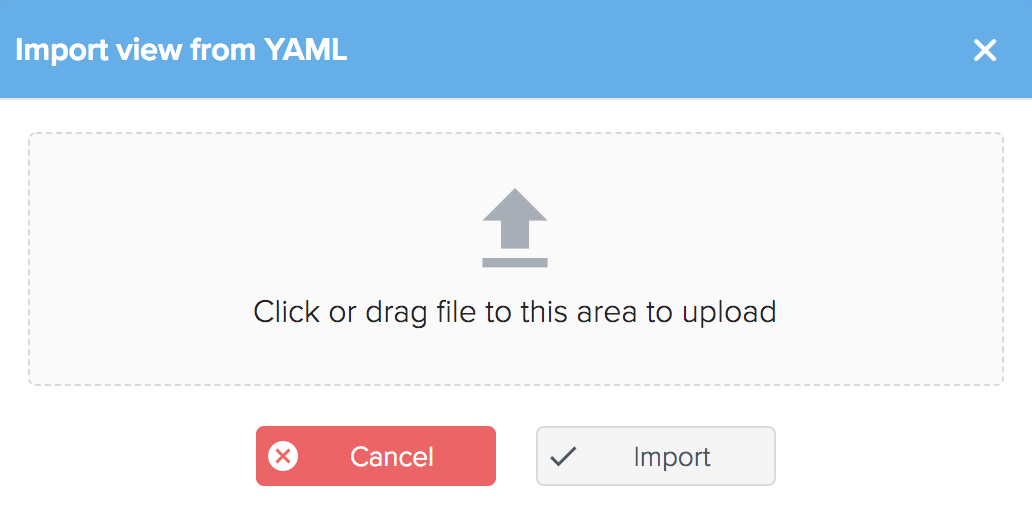
Your status view is now created and ready to use!
Exporting
The exporting feature allows to download a status view as a single YAML file so you can version it on Git or any other source version control software of your choice.
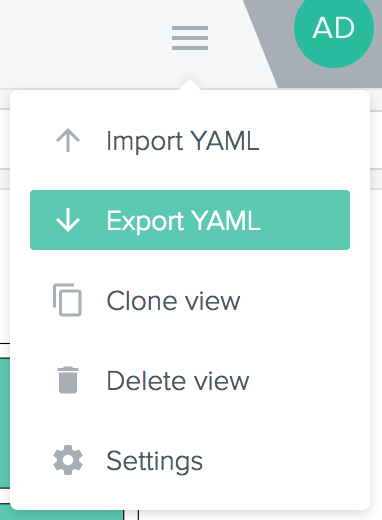
On the top menu, click on Export YAML and the download should promptly start:
Cloning
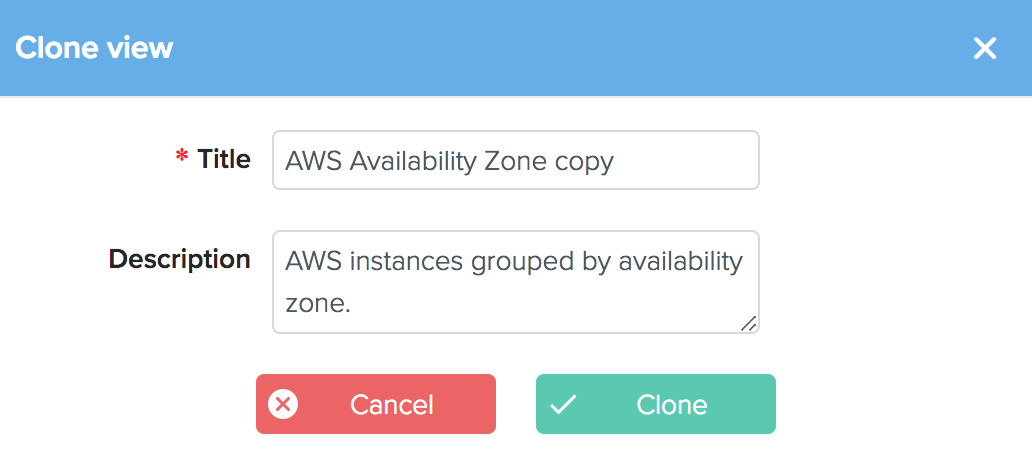
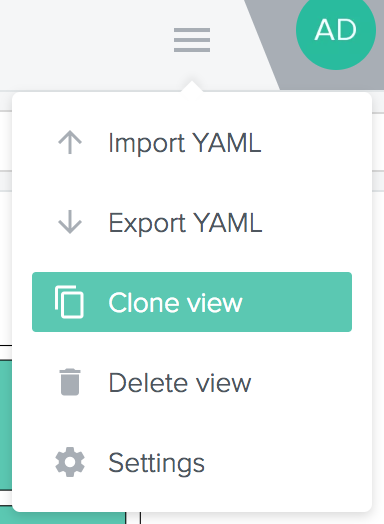
Cloning a status view makes it easy to create new status views by copying existing ones. Open the status view you want to clone and click on Clone view on the top menu:
Type in a name and an optional description for the cloned status view and click on Clone:
